
Last updated November 14, 2026
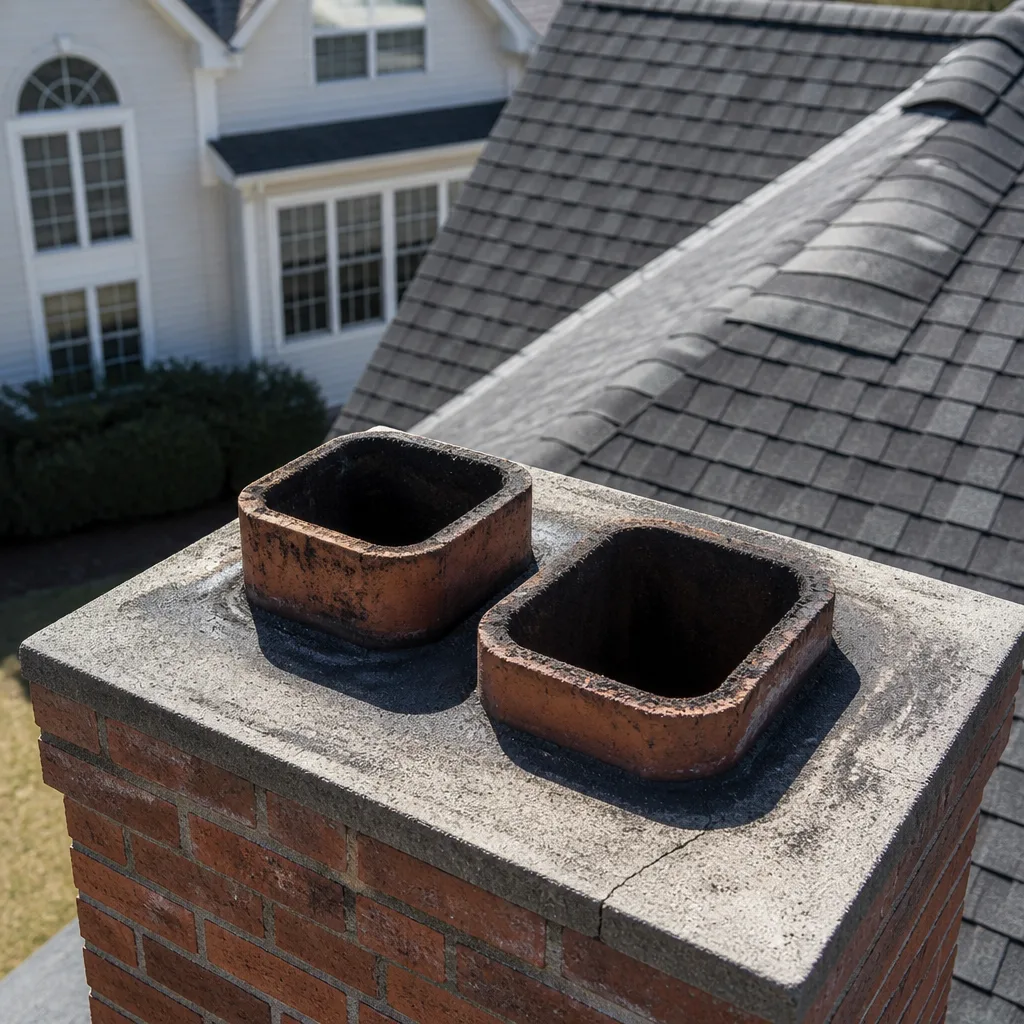 Sweep & inspection
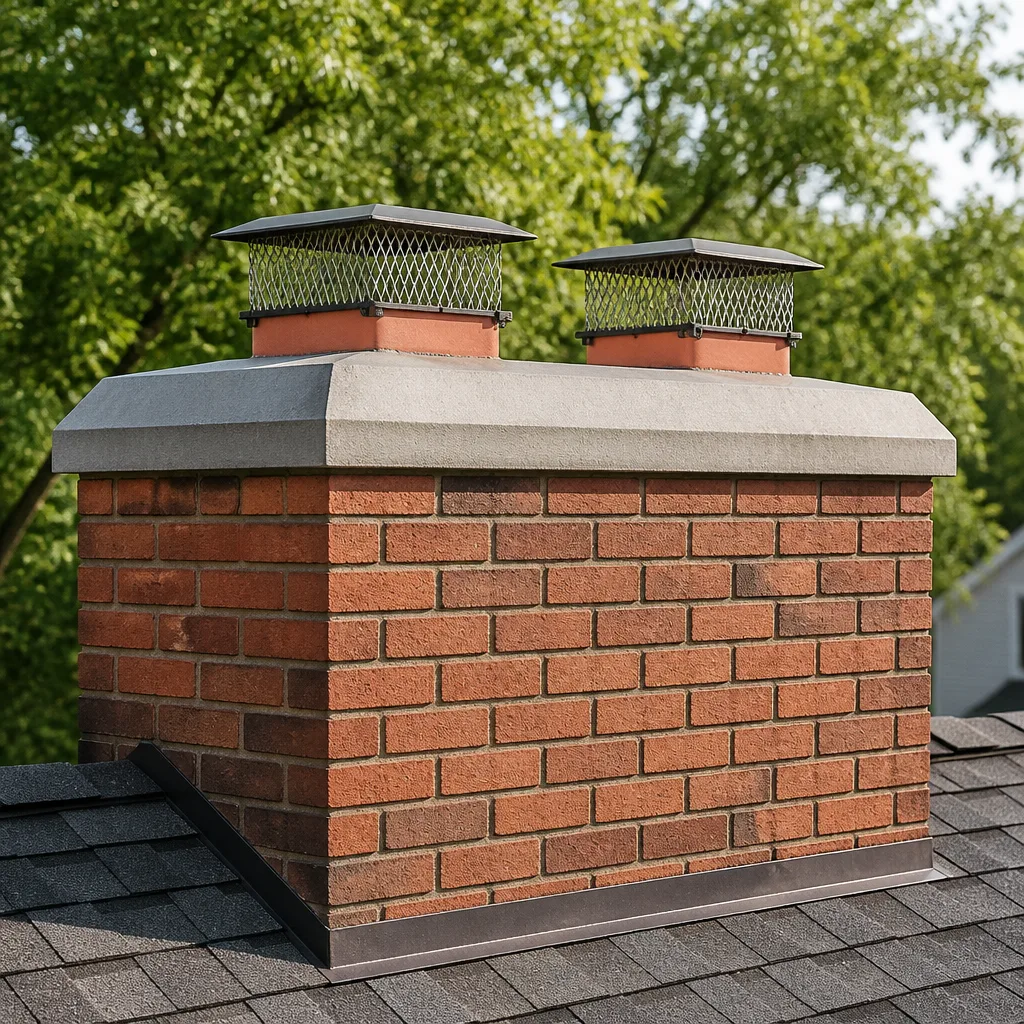 Caps & crowns
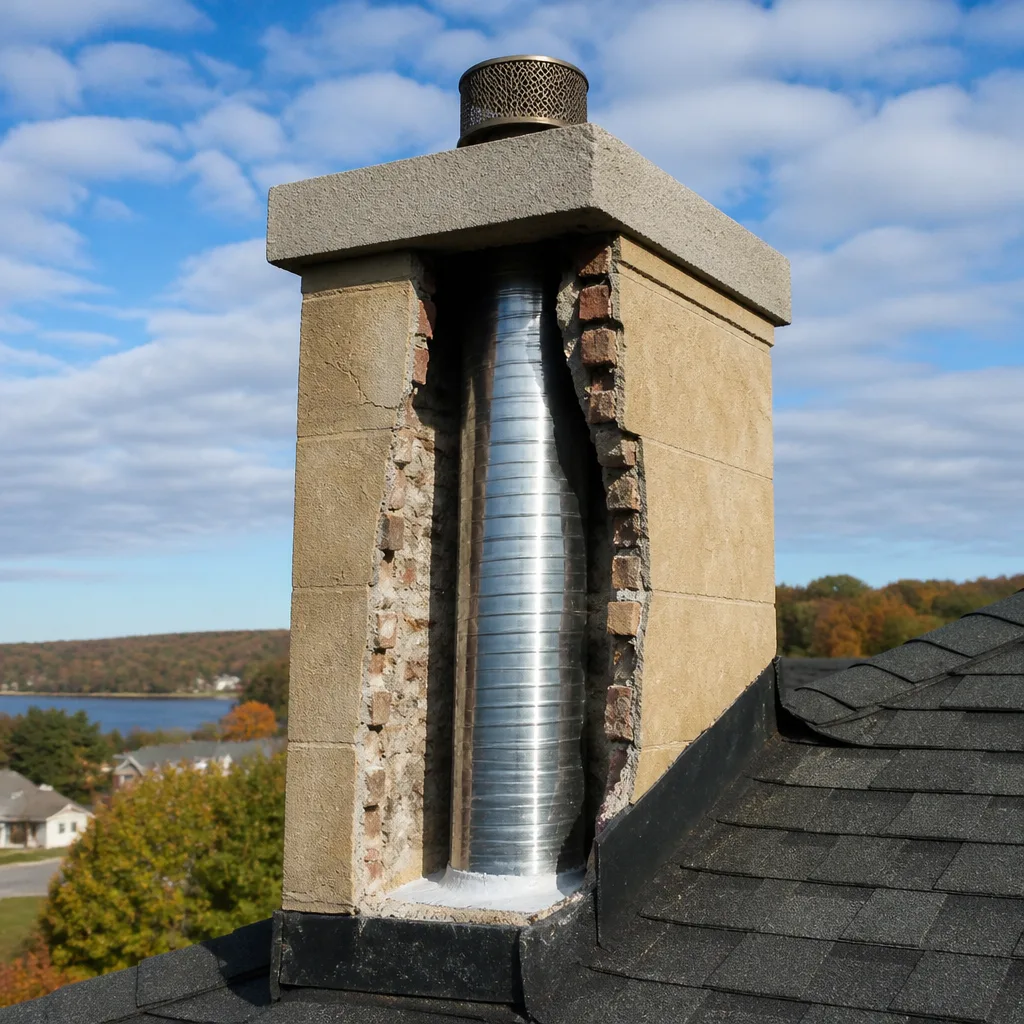 Flue relining
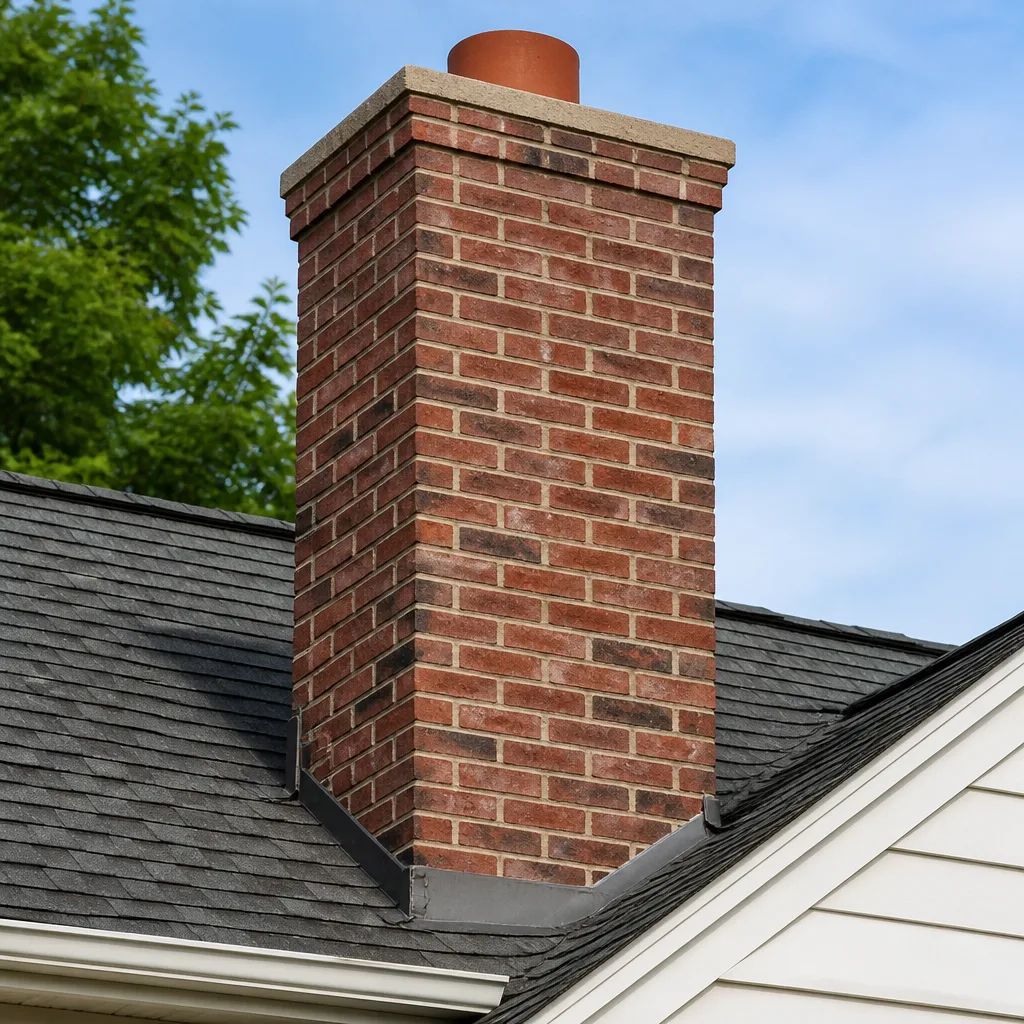 Masonry repair
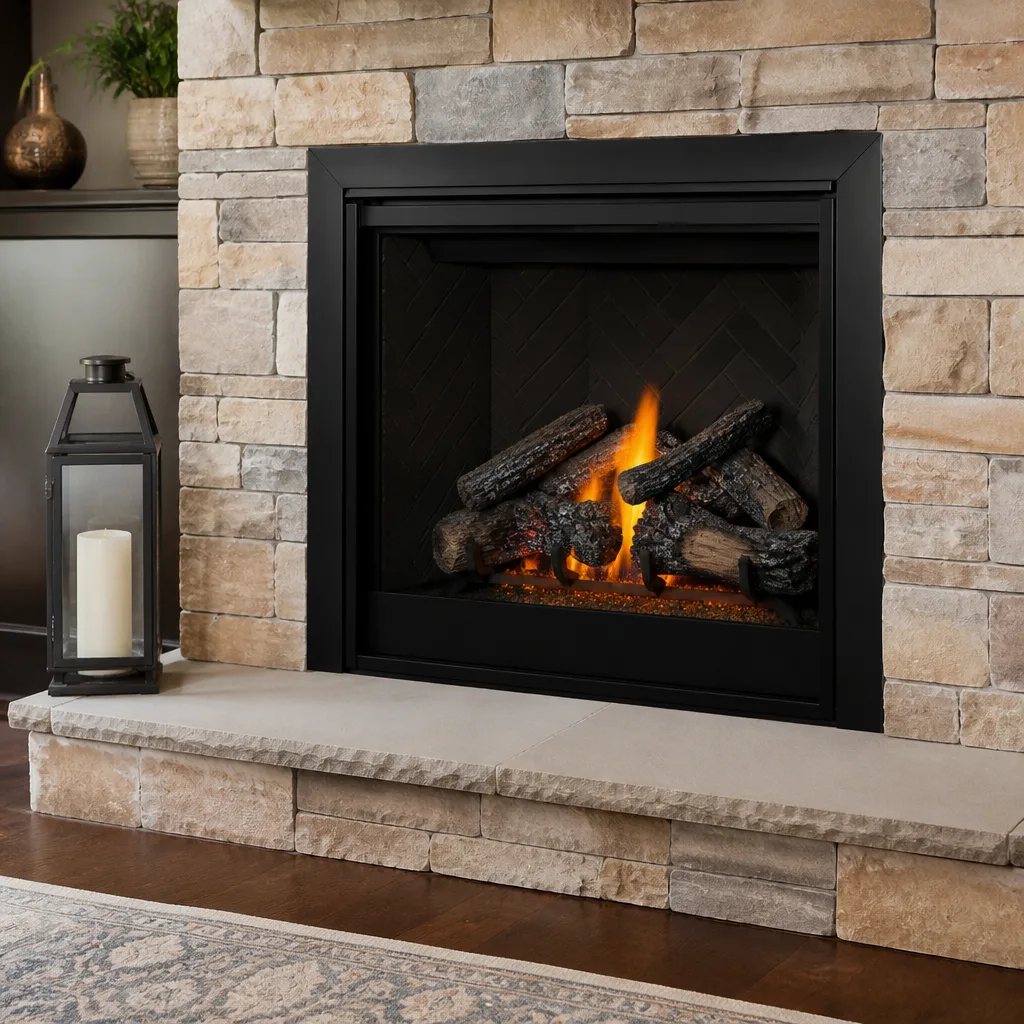 Gas fireplace service
Level 1 sweep and inspection to the NFPA 211 annual standard - flue, crown, cap, and flashing checked and photographed
Chimney sweep logs do not sweep chimneys. They loosen some creosote - which then falls where a brush and vacuum still have to collect it.
Chimney Sweep Maintenance Checklist for Carmel Homeowners
“Get your chimney swept once a year” is the advice everyone repeats, and it’s only half right. That schedule assumes an average house with average burning habits. If you burn two cords of seasoned hardwood every winter, or you run a high-efficiency gas insert that deposits almost nothing, “once a year” is either too much or not nearly enough. What actually protects your home is a checklist tied to conditions you can see and log, not a date on the calendar. This guide gives Carmel homeowners a component-by-component inspection list they can run themselves between professional visits, shows how to track burn hours and wood type to estimate their own creosote rate, and explains what Carmel’s freeze-thaw cycle does to masonry over a typical winter.
Quick Answer
A usable chimney maintenance checklist covers eight components – cap, crown, flashing, flue liner, smoke chamber, damper, firebox, and exterior masonry – and should be run visually several times a year, with a professional sweep booked based on how much and what you burn rather than a fixed calendar date. In Carmel, the freeze-thaw cycle that delivers 50 or more frost days each winter makes spring and fall the two checkpoints that matter most for masonry, because that’s when joints open and spalling first shows.
Styles & brands we work with
- Sweep & inspection
- Caps & crowns
- Flue relining
- Masonry repair
- Gas fireplace service
Table of Contents
- Why a Calendar Date Is the Wrong Trigger
- The Eight-Point Chimney Checklist, Component by Component
- How to Log Burn Hours and Wood Type to Find Your Creosote Rate
- What Carmel’s Freeze-Thaw Cycle Does to Masonry
- DIY Monitoring vs. Work That Needs a Technician
- Your Dryer Vent Is a Venting System Too
- Seasonal Rhythm: What to Check and When in Carmel
- Keeping Records That Actually Help
Why a Calendar Date Is the Wrong Trigger
The once-a-year rule comes from a reasonable place: most chimney fires start with creosote, and creosote accumulates faster the more you burn. But accumulation isn’t only about volume. It’s about the fuel and how completely it burns. A homeowner burning kiln-dried hardwood in a modern, well-drafted fireplace can go considerably longer between sweeps than someone burning unseasoned wood in an older, inefficient firebox. Same house count, same winter, very different deposit rates.
Three variables drive creosote accumulation more than anything else:
- Wood moisture. Green or poorly seasoned wood spends its heat boiling off water instead of burning cleanly, which cools the smoke and lets it condense on the flue walls. Seasoned wood split and stacked for a full year burns hotter and leaves less behind.
- Burn frequency and duration. Long, hot fires with a good bed of coals deposit less than short, smoldering fires choked down for overnight burn. Smoldering is where the heavy, glazed creosote forms.
- Appliance efficiency. A sealed gas insert or a high-efficiency wood stove sends far less unburned material up the flue than an open masonry fireplace. The flue stays cleaner, but it still needs inspection for other reasons.
What this means practically is that your sweep interval should be based on what you observe, not what a brochure says. A homeowner in Carmel who burns a cord of seasoned oak a season and sees light, flaky creosote at the annual inspection is on a different schedule than one whose flue shows glazed deposits after a single winter. The checklist below gives you the observations. The chimney sweep is what turns those observations into a real cleaning and a professional opinion on what’s next.
The Eight-Point Chimney Checklist, Component by Component
Every chimney, whether it serves a wood fireplace, a gas insert, or an older unlined flue, has the same eight parts to monitor. Each shows a specific visual indicator when something is drifting out of condition. Work through this list from the top of the chimney down, so you’re not looking at the firebox last and missing something above it.
1. Chimney Cap
The cap keeps water, animals, and sparks out of the flue. Look for a cap that’s bent, rusted through, or sitting crooked on the crown. A missing or damaged cap is one of the most common causes of interior water damage, and it lets birds and squirrels nest in the flue. If your cap is a cheap galvanized unit showing rust, a stainless product such as a Copperfield cap is the typical replacement. This is a same-visit fix for a technician on a ladder.
2. Crown
The crown is the concrete slab on top of the chimney that sheds water away from the masonry. Cracks wider than a hairline, crumbling edges, or a crown that slopes toward the flue instead of away from it all mean water is getting into the structure. Small cracks can be sealed. A crown that’s failed completely needs rebuilding.
3. Flashing
Flashing is the metal where the chimney meets the roof. Look for lifted edges, missing fasteners, gaps, or tar patching that’s dried and cracked. Flashing leaks show up as stains on the ceiling or dampness on the chimney breast inside the house, often after a hard rain rather than during it.
4. Flue Liner
The liner carries combustion gases out of the house. From the top, look down with a flashlight for cracked tiles, gaps between tiles, missing mortar joints, or a flue with no liner at all. From the firebox, look up for the same. Any break in the liner is a safety issue, not a maintenance item. Do not burn until a technician has assessed it.
5. Smoke Chamber
The smoke chamber is the sloped space between the damper and the flue. It’s often corbeled, which creates ledges where creosote collects. You can see part of it from the firebox with a light. Rough, parged surfaces that have cracked or spalled are what a technician addresses with HeatShield resurfacing, which smooths the chamber and restores a proper slope.
6. Damper
Open and close the damper by hand. It should move without binding and close flush enough to seal. A damper that sticks open wastes heat up the flue all winter. A rusted-out damper, common in older fireplaces, may need replacement rather than adjustment.
7. Firebox
Look at the brick and mortar inside the firebox. Hairline cracks in the firebrick are normal. Gaps wider than a quarter inch in the mortar joints, loose bricks, or a firebox floor that’s cracked through are not. Deteriorated firebox mortar lets heat reach the structure behind it, and that’s a repair, not a cleaning.
8. Exterior Masonry
Walk the outside of the chimney and look for spalling – brick faces flaking off and leaving a crumbling surface – efflorescence (white staining that signals moisture moving through the masonry), and mortar joints that have receded or cracked. This is the component Carmel’s climate hits hardest, and we’ll get to why below.
How to Log Burn Hours and Wood Type to Find Your Creosote Rate
An industry average sweep interval tells you almost nothing about your own chimney. A simple log turns guesswork into a working number you can hand to a technician. You don’t need special tools – a notebook or a phone note is enough – and a season of entries gives you a rate you can plan around.
Here’s how to keep the log:
- Record each burn session. Note the date, roughly how many hours the fire burned, and whether it was a hot, active fire or a smoldering overnight burn. Smoldering sessions count for more than their hours suggest.
- Note the wood species and moisture. “Seasoned hardwood, split and stacked a year” versus “mixed wood, unknown seasoning” are very different fuels. If you have a moisture meter, jot the reading – under 20% is the usual target for clean burning.
- Track total volume by cord. Most fireplace users burn a fraction of a cord a season; a wood stove can go through several. Knowing your volume per winter lets you compare one year to the next.
- At each professional inspection, record what the technician finds. Note the creosote type – flaky and brushable, or glazed and hard – and roughly how much. This is the number that ties everything together.
- Compare logs across winters. If you burn the same volume of the same wood and the deposit comes back heavier, something changed – draft, wood quality, or appliance condition. If deposits drop after you switch to better-seasoned wood, you’ve found your lever.
After a couple of seasons, you’ll know your own rate: a homeowner burning a cord of dry hardwood in Carmel with light flaky deposits at inspection has a different interval than one burning wet wood in a smoldering stove. That’s the point. Your checklist is personal, and the professional sweep is scheduled to match it. We’ve found that homeowners who keep this log ask sharper questions at inspection, and the conversation is more useful for it.
What Carmel’s Freeze-Thaw Cycle Does to Masonry
Carmel winters average 50 or more frost days, and that number matters to your chimney more than most people realize. Masonry is porous. It absorbs a little water into the brick and mortar every time it rains or snow melts on the chimney. When temperatures drop below freezing, that water expands as it turns to ice. Then it thaws, and the cycle repeats. Each freeze-thaw event puts stress on the joints and the brick face.
Over a single winter, a Carmel chimney can go through dozens of these cycles. What that produces, over time, is spalling – the brick face delaminates and flakes off – and mortar joints that recede and crack. Once the joints open, more water gets in, and the next winter’s cycles push it deeper. It’s a slow progression, and it’s the reason exterior masonry is a checklist item rather than something you glance at once.
What to watch for on the exterior of a Carmel chimney:
- Brick faces that are flaking, chipping, or leaving debris on the roof or ground below.
- White, chalky staining – efflorescence – which signals moisture migrating through the masonry.
- Mortar joints that have receded behind the brick face or show cracking along the joint line.
- A crown that’s cracked or pulling away from the flue, which lets water straight into the structure.
The two checkpoints that matter most in Carmel are late fall, before the first hard freeze, and early spring, once the last frost has passed. Fall catches anything that needs sealing before winter water gets in. Spring catches damage the winter actually did. If your chimney faces the prevailing wind and weather, it deserves a closer look at both. A cracked crown or open joint that’s caught in fall is a small repair; one that’s gone through two winters of freeze-thaw is often a rebuild. When we find masonry conditions that need work, we can address them rather than handing you a list and a referral – the repair is part of the same visit.
DIY Monitoring vs. Work That Needs a Technician
The honest split is this: most of what’s on this checklist is monitoring, and a homeowner can do monitoring without special tools or training. The work itself – cleaning, inspecting the flue interior with a camera, repairing masonry, resurfacing a smoke chamber, installing a liner – is technician work. Knowing which is which keeps you safe and stops you from paying for a visit you don’t need.
That said, some jobs are genuinely risky and should never be attempted by a homeowner. The flue interior, the top of the chimney, and anything involving a ladder and a roof are in that category. High work on a roof is where serious injuries happen, and a camera inspection of a flue is the only way to see what’s actually going on inside it. We flag this plainly because a checklist is not a license to climb.
| Checklist Item | Homeowner Can Monitor | Needs a Technician |
|---|---|---|
| Cap condition | Yes – visual from ground with binoculars | Replacement or repair |
| Crown cracks | Yes – visual | Sealing or rebuild |
| Flashing gaps | Yes – visual | Repair and reseal |
| Flue liner condition | Partial – look up from firebox with a light | Camera inspection, relining |
| Smoke chamber | Partial – light from firebox | HeatShield resurfacing |
| Damper operation | Yes – operate by hand | Replacement if failed |
| Firebox mortar | Yes – visual | Repointing or rebuild |
| Exterior masonry | Yes – walk the exterior | Repointing, spall repair, crown work |
| Creosote level in flue | No | Sweep and inspection |
The camera inspection is the piece that makes the professional visit worth it. A trained technician sees the full length of the flue, the smoke chamber, and the firebox in a way you can’t from below. That’s also where the decision about a liner comes from – not from a guess, but from what the camera shows. Relining isn’t something to schedule on suspicion. It’s a code-compliance and safety upgrade when the existing liner is deteriorated or absent, and a DuraFlex flexible liner is one of the systems we use to restore a compromised flue. The right material depends on the condition, and not every chimney needs the same fix.
Your Dryer Vent Is a Venting System Too
A dryer that takes two cycles to dry a load is telling you something, and it’s the same kind of message a smoky fireplace sends. The vent is clogged, and the heat and lint that can’t escape are a fire risk. It’s the same venting-safety logic we apply to chimneys, and it’s why dryer vent cleaning belongs on a home maintenance checklist alongside the chimney work.
What to check on your dryer vent between professional cleanings:
- Dry time. If loads that used to finish in one cycle now take two, airflow is restricted. That’s the clearest early signal.
- Heat at the exterior vent. With the dryer running, warm, moist air should be moving out the exterior vent flap. A flap that stays closed or barely moves means a blockage.
- Lint behind and under the dryer. A buildup of lint around the appliance is a sign the duct isn’t carrying it away.
- The duct run. Look at the visible section of duct behind the dryer for crushed flex hose, kinks, or a run that’s been rerouted in a way that traps lint.
A homeowner can monitor all of that. What a technician does is clean the full run, including the sections inside the wall, and check that the exterior termination is clear and working. That’s a single-call job when it’s scheduled with the chimney work, which is why we handle both as part of the same visit. We work with Famco venting components when a termination or duct section needs correcting, and a Gelco cap when a chimney needs one, so the right part is on hand rather than on order.
Seasonal Rhythm: What to Check and When in Carmel
A checklist works best when it’s tied to the seasons rather than a single annual date. Carmel’s climate gives you natural checkpoints – the last frost in spring, the first hard freeze in late fall – and each one is a chance to catch a condition before it becomes a repair bill. Here’s the rhythm we recommend.
- Early spring, after the last frost. Walk the exterior masonry and look for spalling, efflorescence, cracked mortar, and a damaged crown. This is when winter’s damage first shows. Book the professional sweep and camera inspection now, before the warm season fills the schedule.
- Late spring, before the cooling season. If you have a gas insert or a wood stove you use year-round, this is the clean-and-check window. Confirm the cap is intact and the flashing is sound before summer storms.
- Early fall, before the first hard freeze. Seal any small crown cracks found in spring. Clear leaves and debris from the cap and the top of the flue. Confirm the damper opens and closes freely. Have the flue swept if your burn log says you’re due.
- Mid-winter, between fires. Keep the burn log current. Watch for smoke backing into the room, a fire that’s harder to start than usual, or a damper that’s stiff. Any of those is a reason to stop burning and call.
Two professional visits a year isn’t necessary for every home. Many Carmel homeowners do one sweep plus the camera inspection annually and run the visual checklist themselves at the season changes. The rhythm above is a framework, and your own burn log and the technician’s findings tell you whether you need to adjust it.
Keeping Records That Actually Help
The single most useful thing you can hand a technician is a record of what’s been done and what’s been found. It turns each visit from a fresh survey into a comparison. Keep the following in one place – a folder or a note on your phone:
- Dates of each professional sweep and inspection.
- What the technician found: creosote type and amount, liner condition, any masonry notes.
- Your burn log for the season: hours, wood type, volume.
- Any repairs or replacements, with the product used where you know it – a Copperfield cap, a DuraFlex liner, an Olympia Chimney component, a Famco vent correction.
- Photos of the exterior masonry at each season change, taken from the same spot. Comparing photos across winters shows spalling progression that’s hard to see day to day.
When you call Chimney Sweep Carmel for a sweep, mention what your records show. It helps the technician plan the visit and focus the camera inspection on the components your notes flag. If you’re in Carmel and new to the area or new to the house, start with a full inspection and build the record from there.
Common Mistakes to Avoid
- Treating the annual sweep as a substitute for the visual checklist. The sweep happens once; the conditions that lead to a repair develop over months. A homeowner who only looks at the chimney when the technician is on the roof misses the spring spalling that a fall repair could have caught.
- Burning unseasoned wood to save money on fuel. Wet wood cools the smoke and deposits heavier creosote, which means more frequent sweeps and, in bad cases, glazed deposits that cost more to remove. In Carmel’s cold winters, the fire also burns less efficiently, so you use more wood for the same heat.
- Ignoring a dryer that takes two cycles. Slow drying is the same warning a smoky fireplace gives: restricted venting. It’s a fire risk, and it’s cheap to fix before it becomes a bigger problem.
- Sealing the chimney up tight for the summer without checking the crown. A cracked crown lets water in all off-season, and the freeze-thaw cycle starts working on it the following winter. Check the crown before you close the damper for the season.
- Assuming a gas insert doesn’t need inspection. Gas inserts deposit far less creosote than wood, but the liner, the venting, and the cap all still need inspection, and a clogged flue is a carbon monoxide risk regardless of fuel type. Keep it on the checklist.
- Climbing the roof to inspect or clean the flue yourself. The view from a ladder isn’t better than a camera inspection, and a fall is a serious injury. The monitoring you can safely do is from the ground, the firebox, and the exterior walk. Leave the roof to a technician.
- Not keeping a record of what was found. Without notes, each visit starts from scratch and it’s hard to tell whether a condition is improving or getting worse. The burn log and the inspection notes are what make the checklist personal.
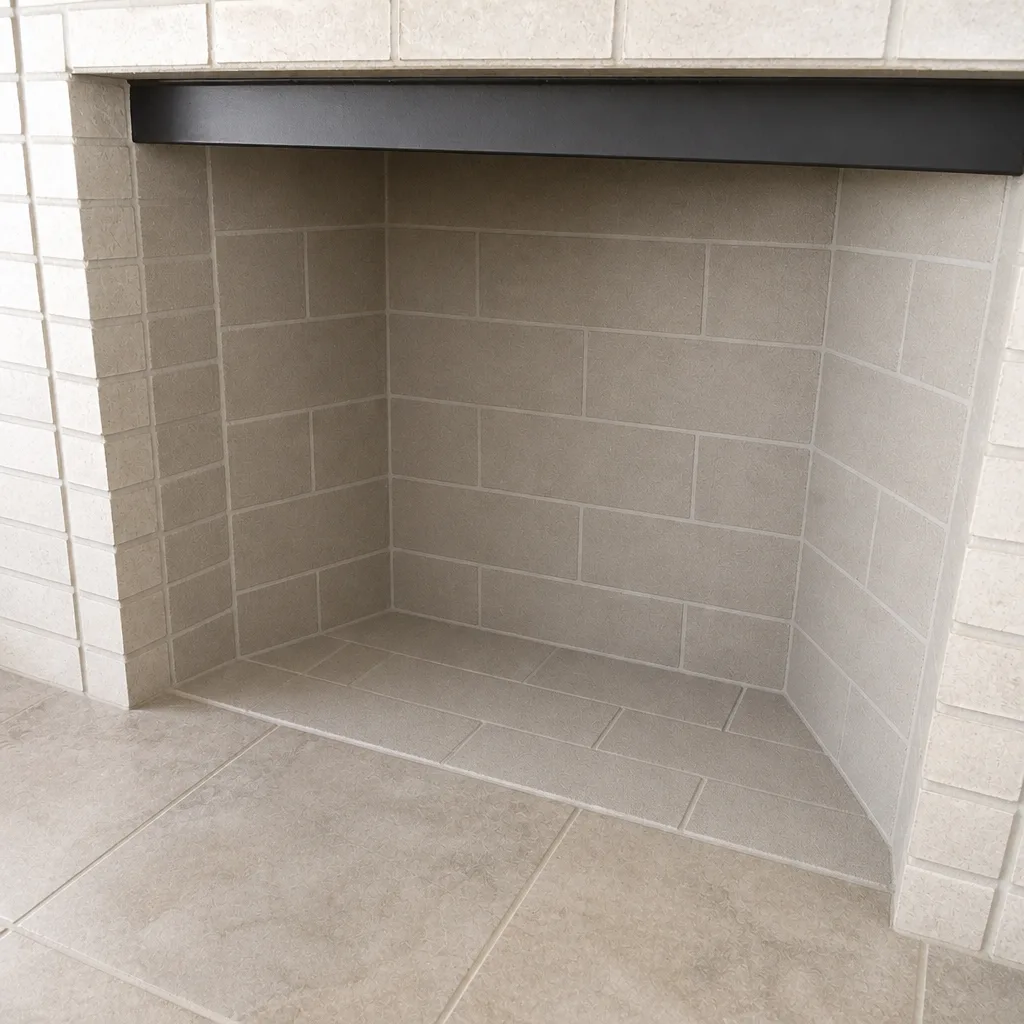
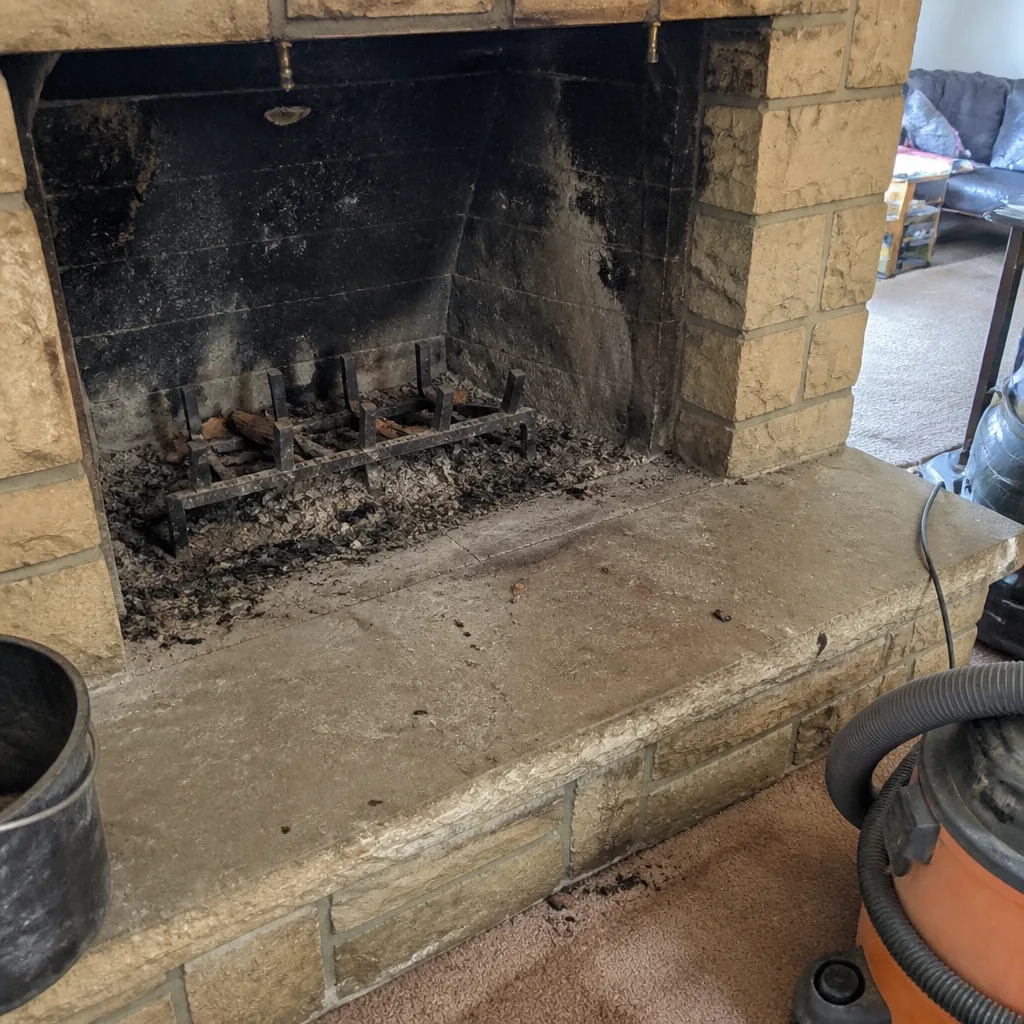
See the difference
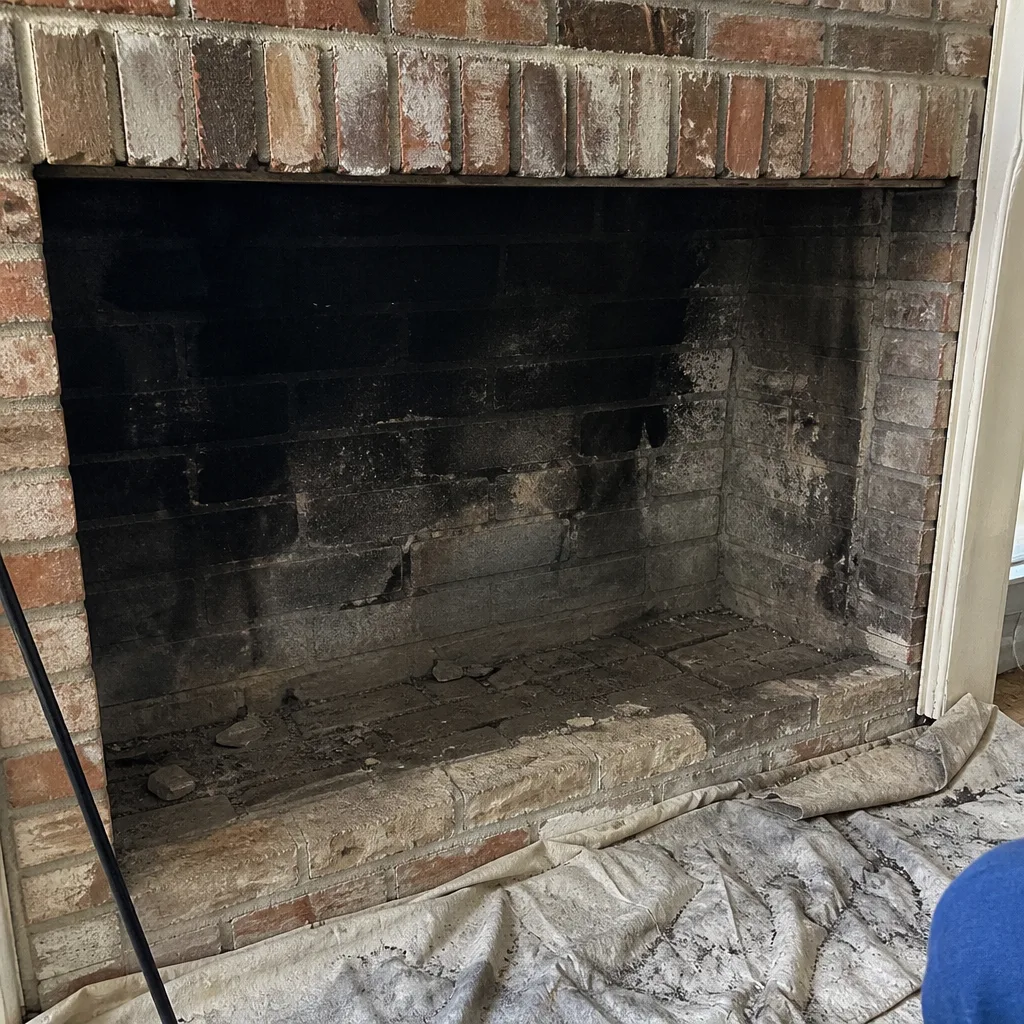 Before
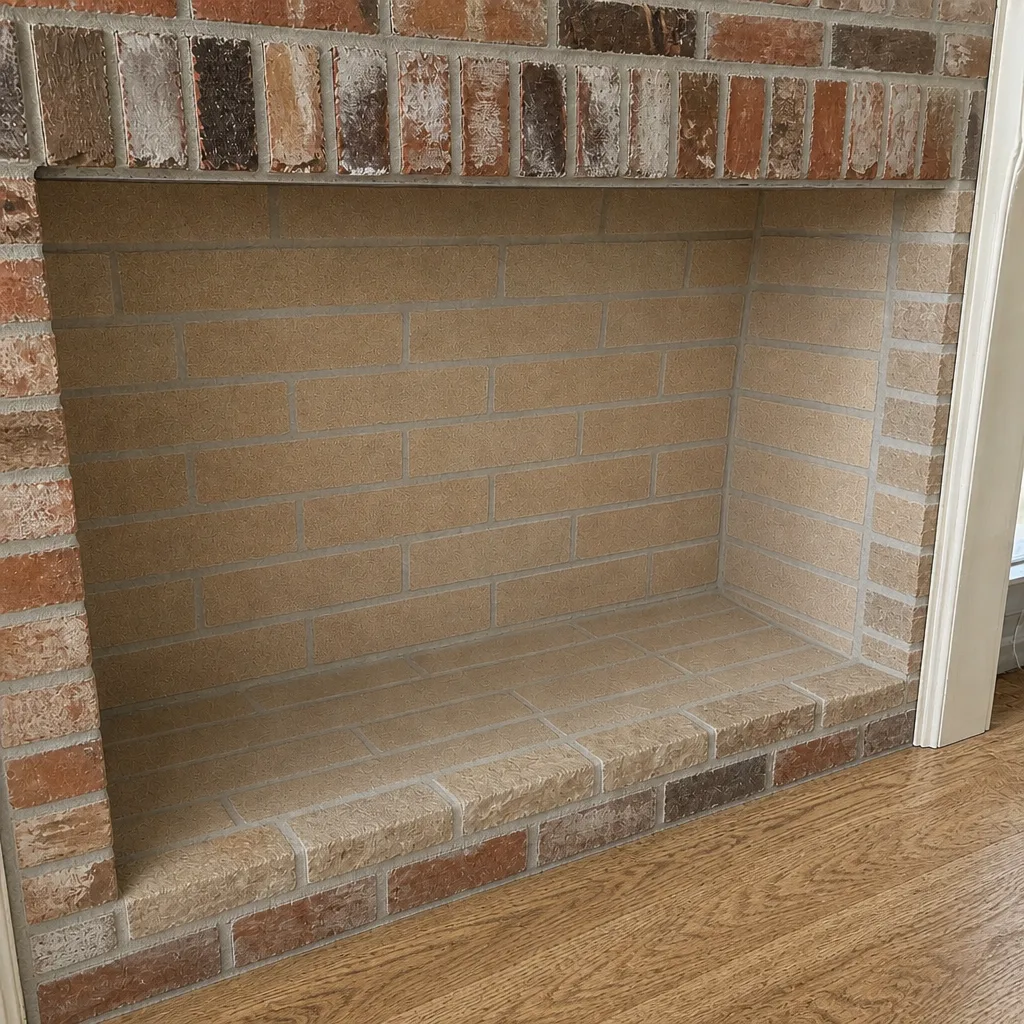 After
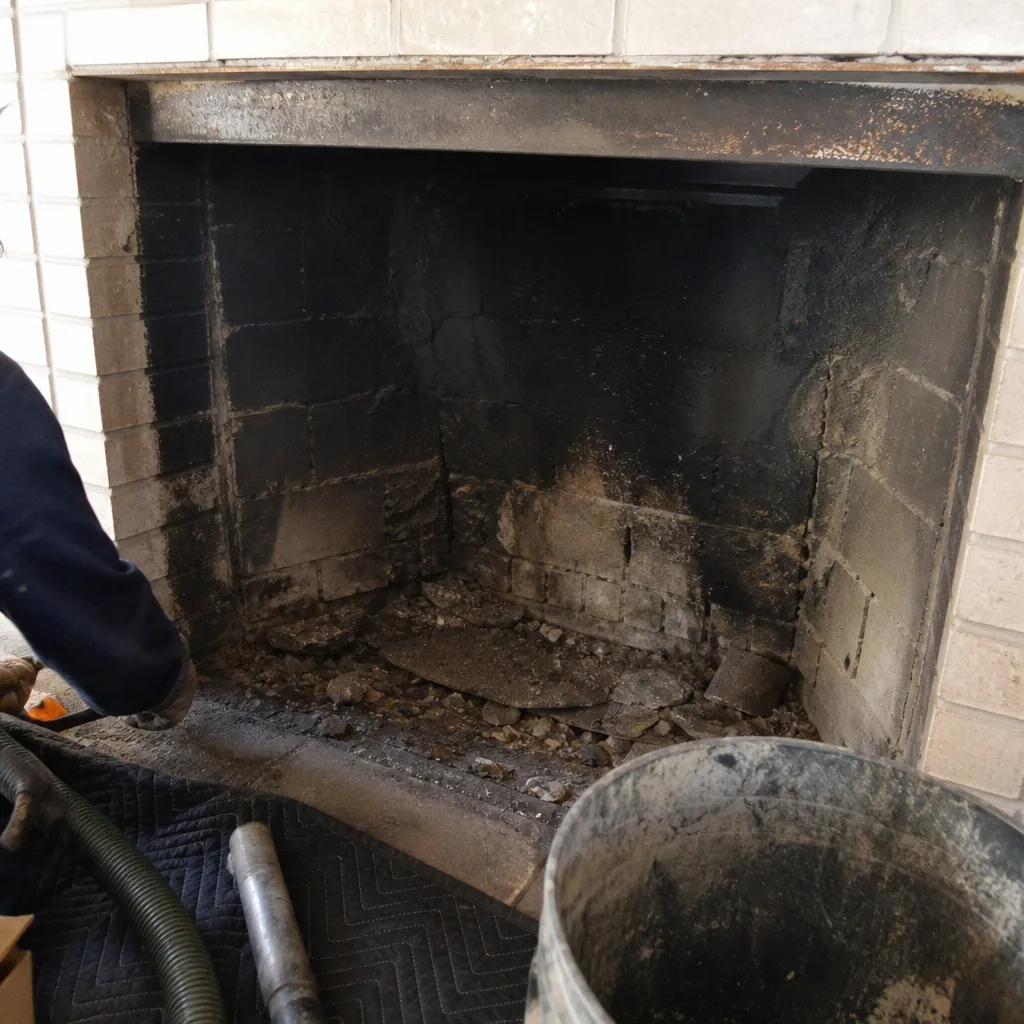 Before
 After
 Before
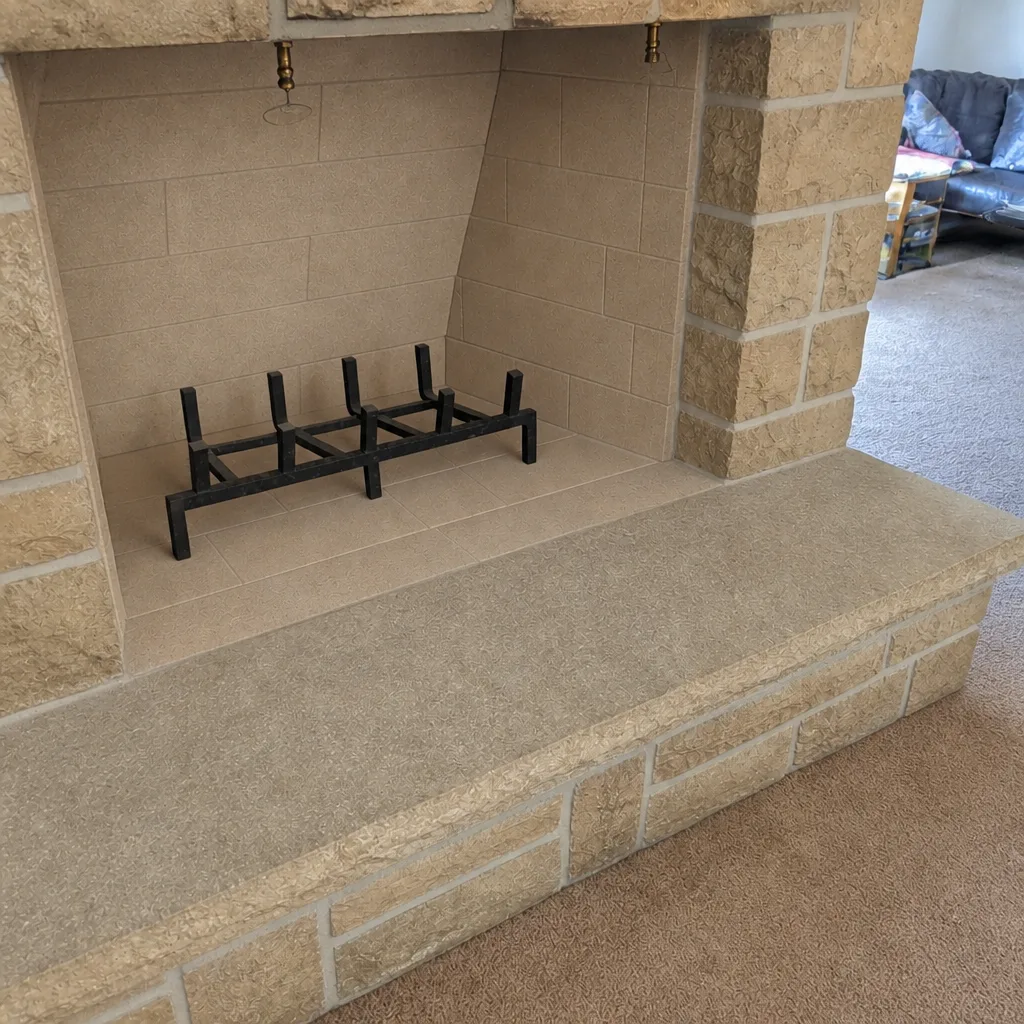 After
When to Call a Professional
Some conditions are a call for a technician, not a checklist item to monitor. Call right away if you see cracked or missing flue tiles, a liner with gaps, or a firebox with open mortar joints wider than a quarter inch. Call if smoke backs into the room when you light a fire, if you smell a strong creosote or gas odor, or if your carbon monoxide alarm sounds. Call if the exterior masonry shows active spalling or a crown that’s cracked through. And call if your dryer takes two cycles to dry a load or the exterior vent flap doesn’t move. We answer 24/7, and for non-urgent work you can book a sweep with a free estimate. Chimney Sweep Carmel offers free estimates in Carmel – call (833) 436-4994.
Frequently Asked Questions
It depends on what and how much you burn, not the calendar. A homeowner burning a cord of well-seasoned hardwood a season may need one sweep a year; someone burning wet wood in a smoldering stove may need more. Keep a burn log and let the inspection findings set the interval. Call (833) 436-4994 for an exact quote – estimates are free.
Each freeze-thaw event puts stress on the mortar joints and brick faces, and Carmel winters deliver 50 or more of them. Over time that opens joints and causes spalling. Check the exterior masonry in early spring and before the first hard freeze, and seal small crown cracks before winter. Call (833) 436-4994 to book an inspection – estimates are free.
Yes, for the components you can see from the ground, the firebox, and the exterior walk. You can visually check the cap, crown, flashing, firebox mortar, damper, and exterior masonry. You can’t safely inspect the flue interior or the roof, and that’s what the professional visit covers. Call (833) 436-4994 to schedule – estimates are free.
Creosote shows up as flaky soot, crusty deposits, or hard glazed material on the flue walls, and the type matters. Flaky deposits brush out; glazed creosote is harder and needs a technician’s method. Your inspection notes should record which type you have, because it tells you how fast you’re accumulating. Call (833) 436-4994 for an inspection – estimates are free.
Yes, if it takes two cycles to dry a load, the exterior flap barely moves, or lint builds up around the appliance. Those are signs of a restricted vent, which is a fire risk. It’s a same-visit job when scheduled with chimney work. Call (833) 436-4994 – estimates are free.
Stop burning if smoke backs into the room, you smell a strong creosote or gas odor, your carbon monoxide alarm sounds, or you find cracked or missing flue tiles. Those aren’t maintenance items. Call (833) 436-4994. We answer 24/7. Fast dispatch from 7am to 7pm, Sunday through Friday.
The Bottom Line
A chimney maintenance checklist works because it’s tied to conditions you can see and log, not a date on the calendar. Run the eight-point check on the cap, crown, flashing, flue liner, smoke chamber, damper, firebox, and exterior masonry several times a year. Keep a burn log of hours and wood type so you know your own creosote rate. Watch the exterior masonry closely in Carmel, where 50 or more frost days a winter drive the freeze-thaw cycle that opens joints and causes spalling. Know which items you can monitor and which need a technician. Schedule the professional sweep when your log and findings say you’re due, and keep a record of every visit.
When you’re ready for a sweep, a repair, or a dryer vent cleaning, call (833) 436-4994 for a free estimate. We answer 24/7. Fast dispatch from 7am to 7pm, Sunday through Friday. Not every chimney needs the same fix, and the right material depends on the condition – that’s why we work with DuraFlex, HeatShield, Gelco, Olympia Chimney, Famco, and Copperfield, so we can act on what we find rather than leaving you to find another contractor.
Written by the team at Chimney Sweep Carmel.